

I was also actually on the lookout for a small – but fairly roomy – purse, so of course it seems fitting that I end up making a DIY version instead. I found this awesome bag at Goodwill for about $8, and I’m loving the hardware on the corners. You can use this technique to add an instant upgrade to practically any purse, whether it’s from the thrift store or the depths of your closet. As long as it has a flat cover or flap, you’re good to go. All you need is some Mod Podge, a brush, and fabric scissors.
Keep reading for the step-by-step tutorial!


Supplies:
– Purse with flat front flap (I thrifted mine for a couple dollars)
– Scrap lace (enough to cover the front flap, plus a few inches all around)
– Fabric scissors
– Foam brush
– Mod Podge/decopauge
Optional, but recommended:
– Matching thread and straight pins
– Needle & thread, or sewing machine


2) Sew a straight stitch. Steps #1 and #2 aren’t necessary, but I definitely recommend finishing off the edge somehow. This will give the end result a more finished look. Above is a closeup of the lace edge sewn with a sewing machine.

3) Lay the lace on top of the front flap, finished edge parallel with the top. Make sure you have an extra inch or 2 all around.

4) Using the foam brush, apply Mod Podge along the top of the purse’s flap.


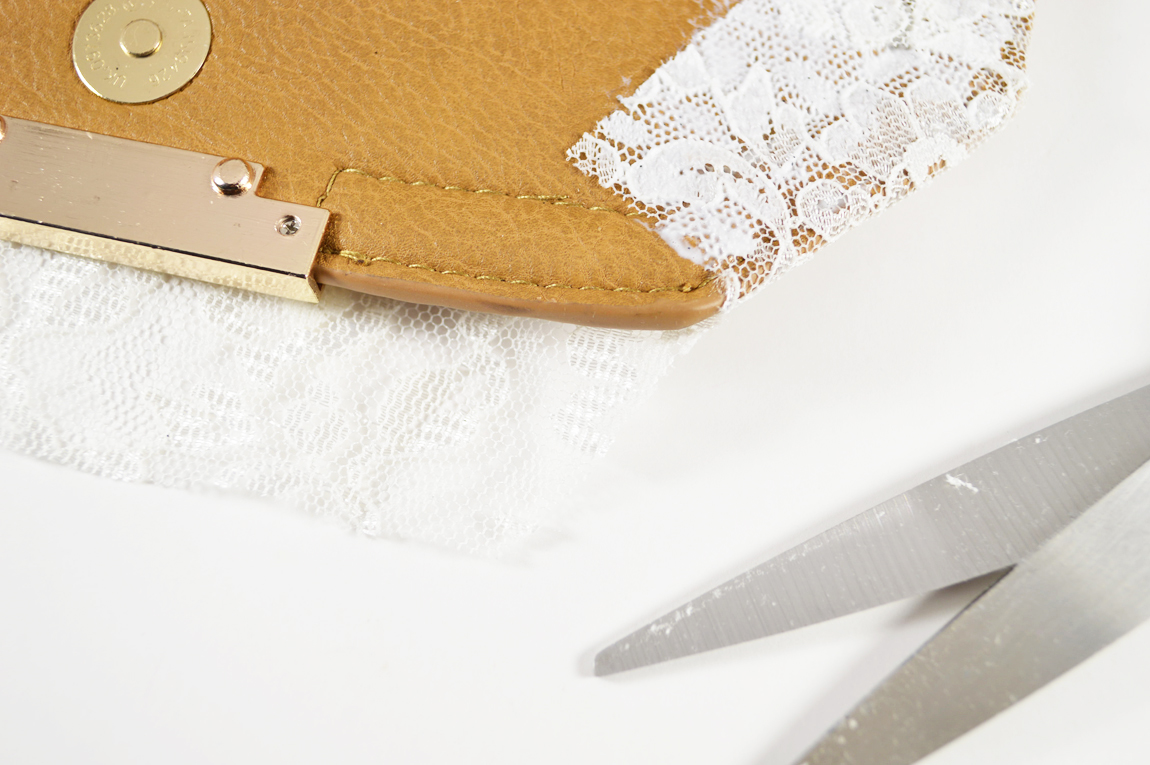
6) At the corners, cut the lace. This will help the lace fold back under the purse’s flap, with minimal to no bunching.

7) Repeat at any other corners, all around the purse.

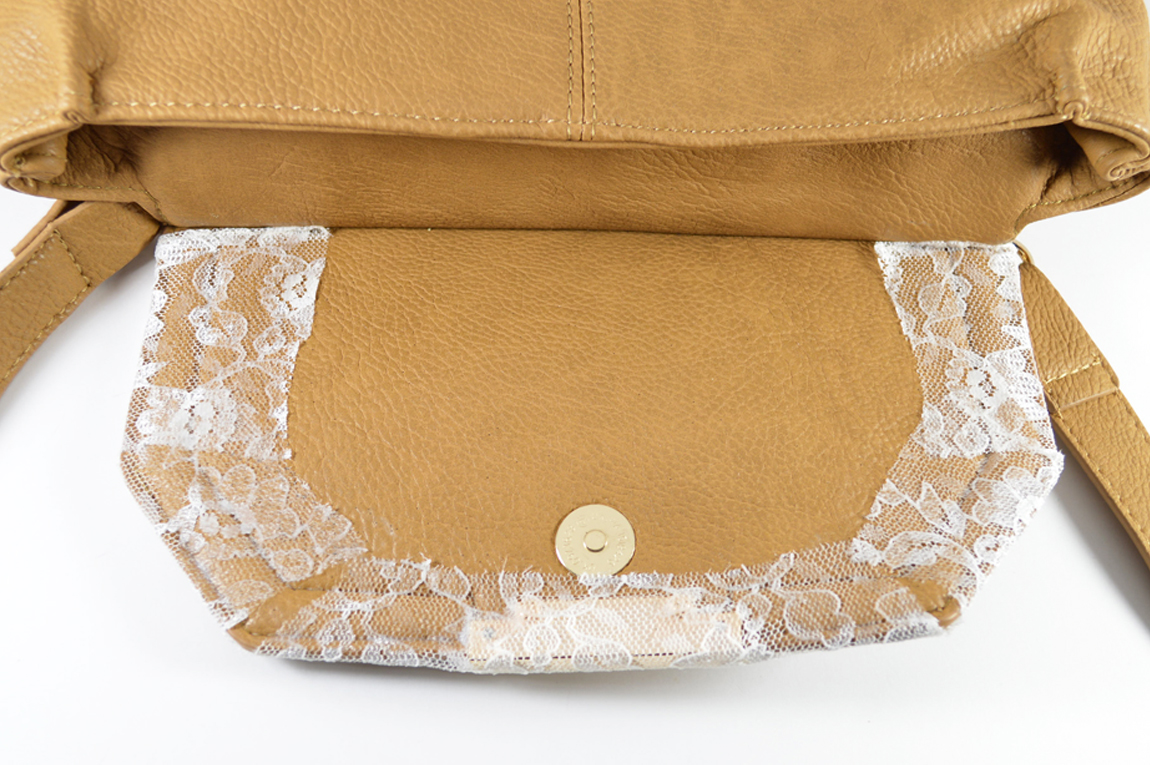
Example of how the lace neatly folds underneath the purse’s flap when cut near the corners.

8) Turn the purse over, front side facing down. If needed, trim the excess lace a bit. Add Mod Podge to the edge.


10) Continue with the rest of the lace.
NOTE: If your purse has hardware details such as this one, leave that side for last. I didn’t mind covering the closure with lace, but you can always cut around it if needed.

I focused on adding Mod Podge to the entirety of each lace fold, especially the raw edges.
11) Fold up the last of the lace; in my case, right where the hardware is. I made sure to trim the laces so that it didn’t cover the actual closure.

12) Let dry, preferably overnight.


xx K