

First off: This can either be a tunic or top, depending on the size and fit of the tank top you used. I decided on a Men’s shirt that I’ve had for a few years, so it fit like a tunic on me. You can use an oversized or true-to-size tank top…whatever you’d like! Just make sure it’s white, or a pale/light color.
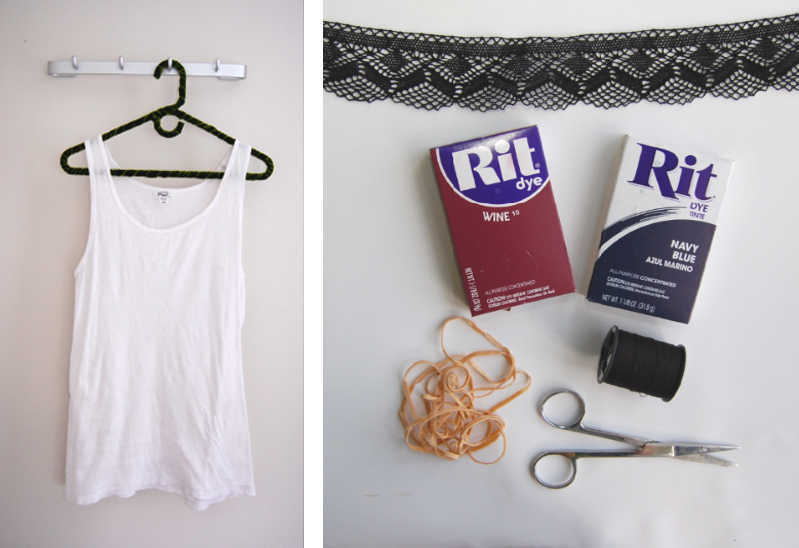
Supplies:– White or light colored tank top, cotton
– A bright colored dye, for the accents (I used RIT Dye in Wine)
– A darker colored to dye, to overdye (I used RIY Dye in Navy Blue)
– Lace trim that is about the same width as the tank top’s straps
(I purchased mine at M&J Trimming‘s Manhattan store)
– Rubber bands
– Scissors
– Sewing machine or sewing needle
– Coordinating thread
– Plastic tub (one big and one small), water, rubber gloves (not shown)
– Access to the washing machine and the outdoors!
(Also not shown, obviously)
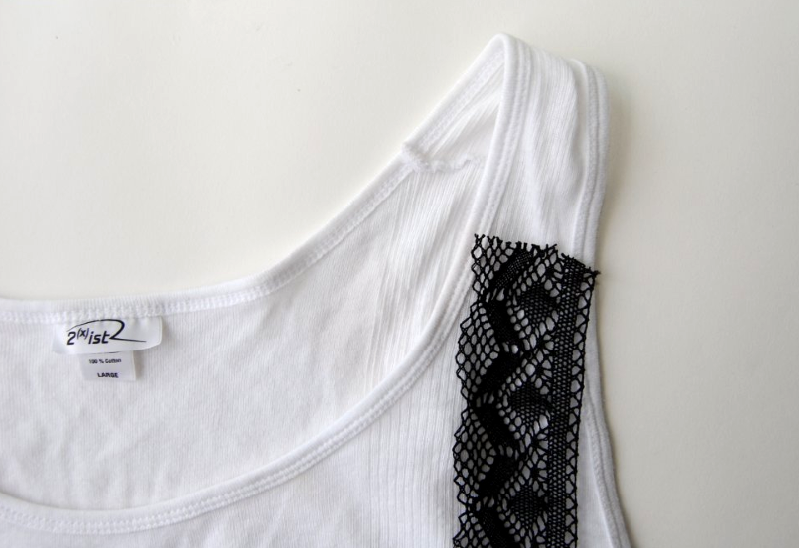
Before you start, double check that your lace trim is about the same width at some point along the strap.
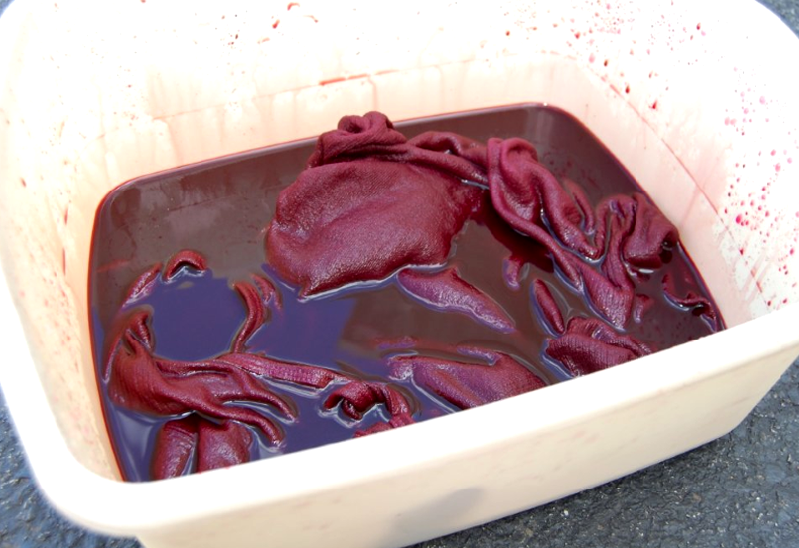
1) Head outside, prepare the brighter dye (in my case, Wine) in a big plastic tub. Submerge your top and let the dye really soak in. Don’t forget to wear those rubber gloves.Throw the top into the wash; a fairly short cycle should do.

2) Let it dry for a bit, then randomly tie rubber bands around the shirt. Prepare the darker color – in my case, Navy Blue – in a smaller tub.

3) Dip dye away.
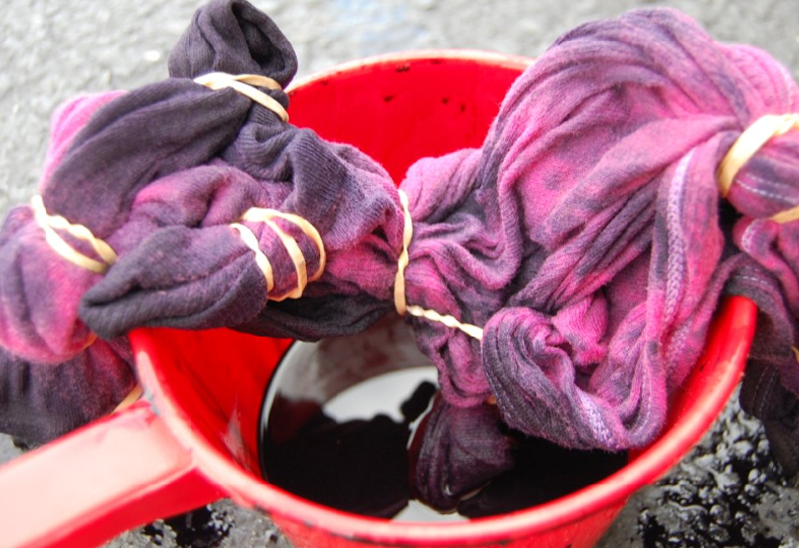
4) Let the shirt soak in the dye, letting it naturally bleed throughout the shirt. You still want to make sure the brighter color underneath is showing up in certain spots.
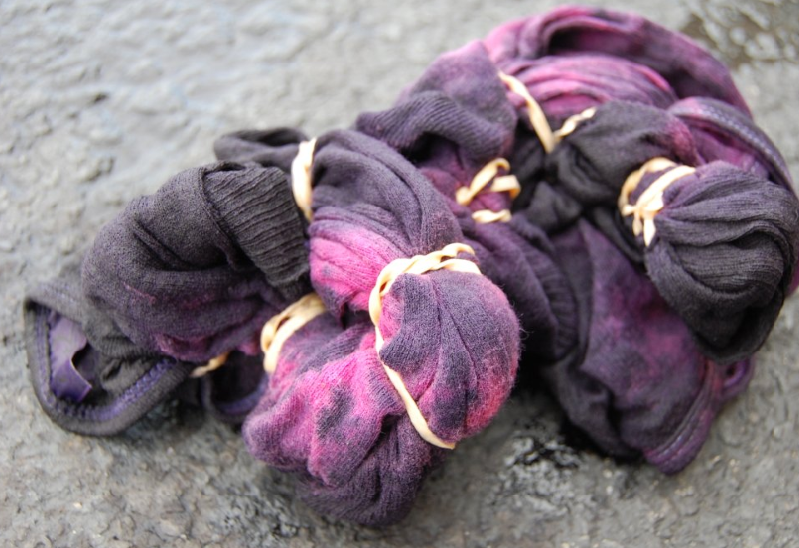
After some more dipping, dyeing and bleeding.
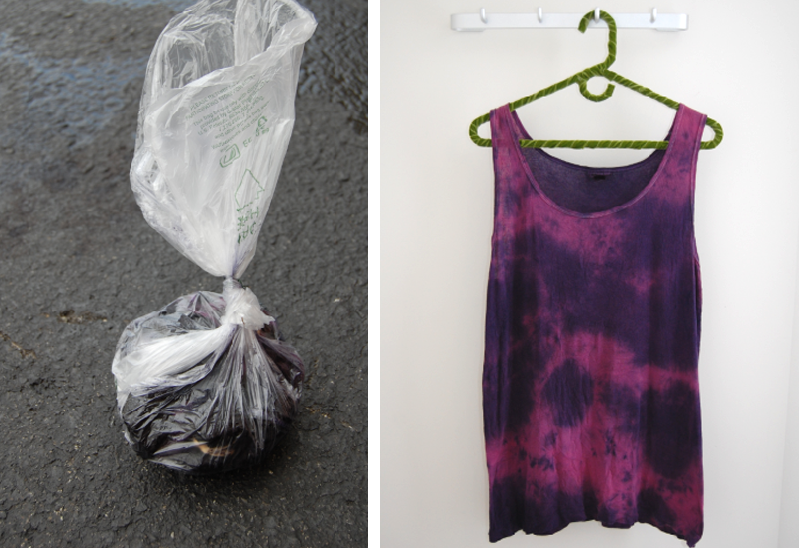
5) Throw it in a plastic bag and tye it up, then let it sit for about 30-40 minutes. When that’s over, take off the rubber bands, throw it in the wash for another short cycle, and hang it up to dry.
My finished product…almost.
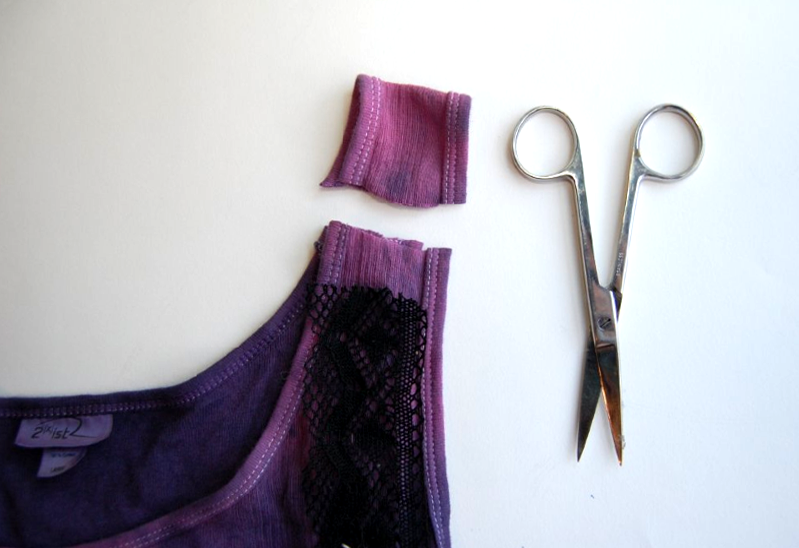
6) When dry, determine the placement of your lace trim along the strap. If your trim is scalloped/decorated on one side like mine, make sure that the “right” side of the lace is facing the front side of the shirt.Cut the strap about half an inch ABOVE this.
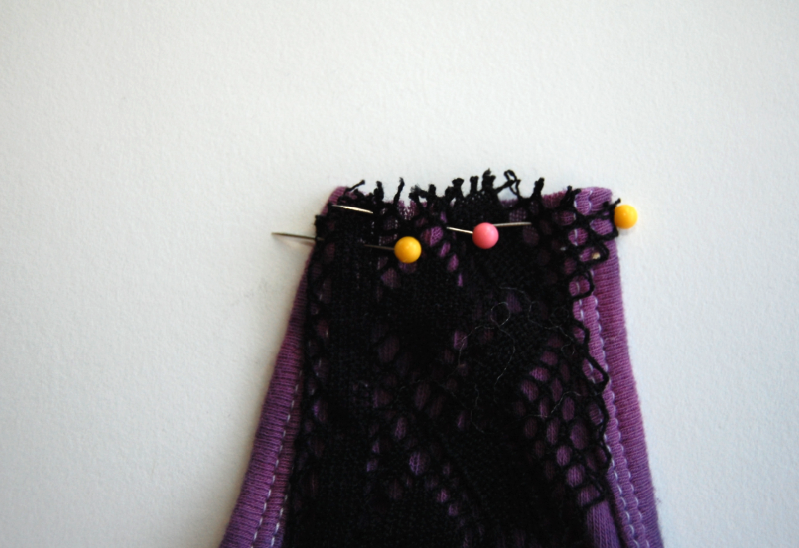
7) Pin the lace to the strap. If the strap is wider than your lace, you can always make a small pleat when you sew. What matter the most is that the right and left edges are sewn together (indicated by the yellow pins).
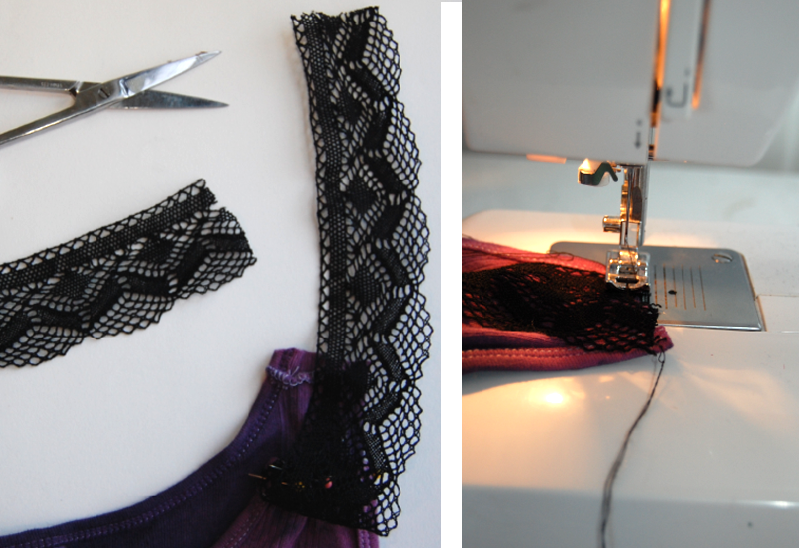
8) Trim the lace, depending how long or short you want your strap to be. It’s better to cut off too little than too much at first!Sew the lace. Repeat on the back, and then on the other strap.
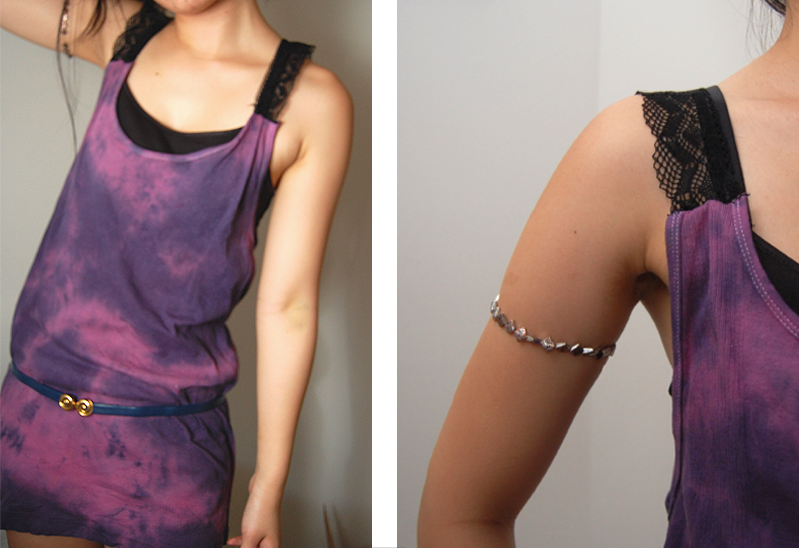
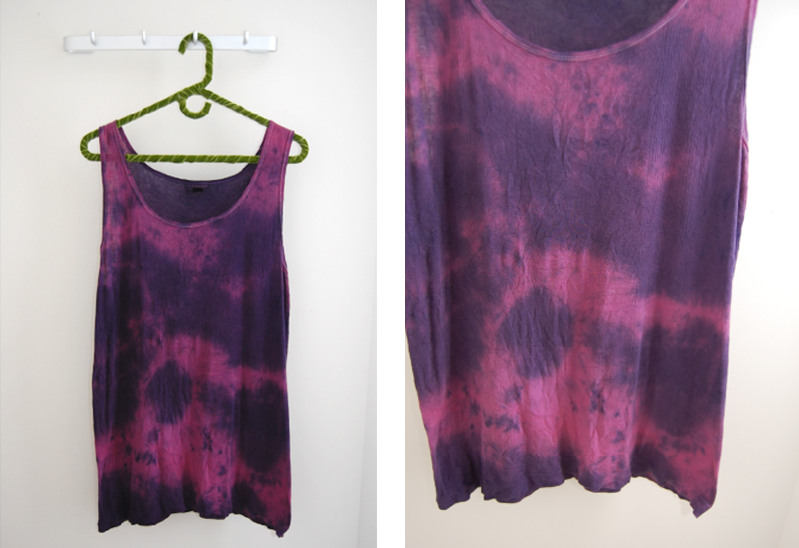
This is how mine ended up. I love the way the Navy Blue looks against the wine. Remember making that pleat in the middle of the strap (if needed?) – you can see it if you look closely at both straps.I wore it over a black tank top, a vintage blue waist belt, and even though you can’t see them – black denim shorts. The material is light enough for the summer, but still wearable for the fall. It’s a good thing I don’t have a boyfriend to steal white tank tops from, otherwise they’d all end up like this.
Enjoy ! xo