
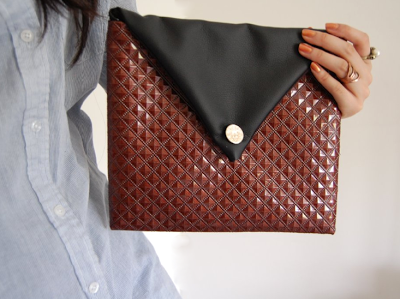

You know you DIY too much when you look at a placemat and think of accessories…not food, tables or eating.
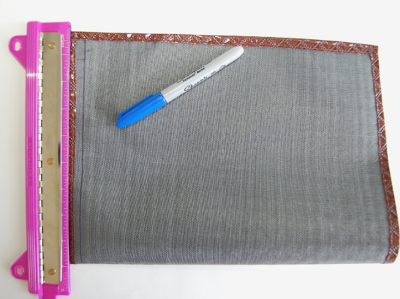
I visited my cousins in Canada a few weeks ago and found a burgundy, pyramid-stud-looking place mat at the dollar store. It was only a $1.25 CND, and the USD conversions aren’t that far off. Because I had everything else on hand, the finished product cost me almost nothing. I saw it and automatically thought “CLUTCH!”
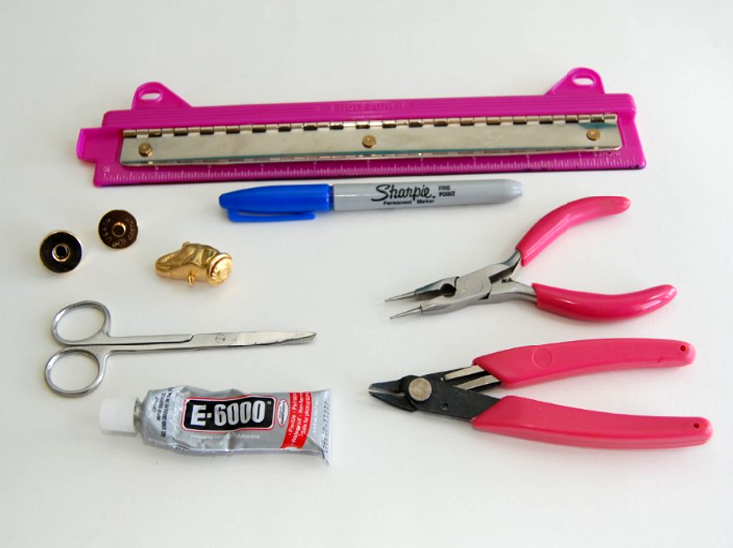
Supplies:
– Ruler
– Sharpie/marker
– Jewelry pliers
– Button of your choice. You can also use an old earring, pendant, etc.
– Wire cutters (depending on the button you’re using)
– Magnetic purse closures (available in the sewing section of the craft store)
– Scissors
– E6000/super glue
– Flat button, or a button with a shank on the back (to be removed)
– Placemat
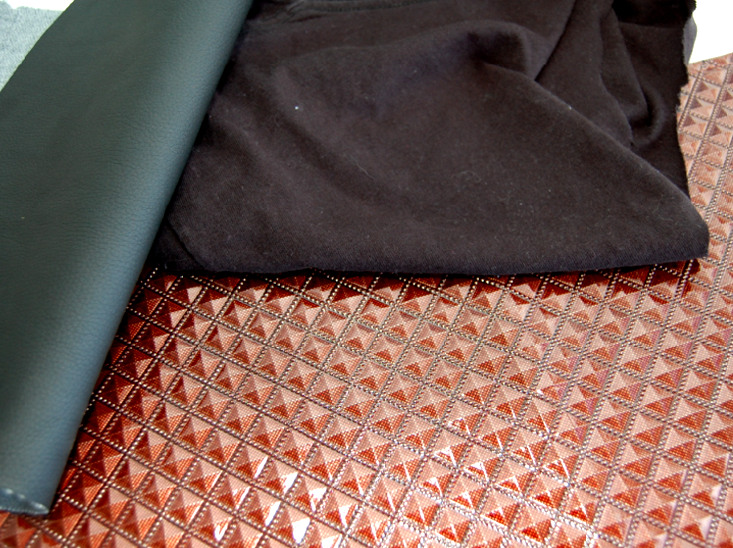
– Thick fabric, like vinyl or pleather. About 12×12 inches.
– Thiner fabric, like cotton or jersey. About 12×12 inches.
– Sewing machine & coordinating thread (not shown)
– Denim needle (for your sewing machine)
– Sewing pins
– Scrap paper
– White chalk or charcoal (might be useful)
I was going to use an elephant button, but changed my mind for a flat gold button that’d be easier to work with. Reason #32487648162 DIY is great: you can change your mind whenever you want.
For my additional fabrics, I used black pleather from Mood and black jersey from an old t-shirt.
Obviously, the final look of your clutch will depend on what kind of placemat you find. I’m sure Canada isn’t the only place to find cool looking placemats, so try checking out stores like Home Goods, TJ Maxx, and Target. Your local dollar store is always worth a shot, though. Just make sure the placemat is thin enough to be sewn through two layers.
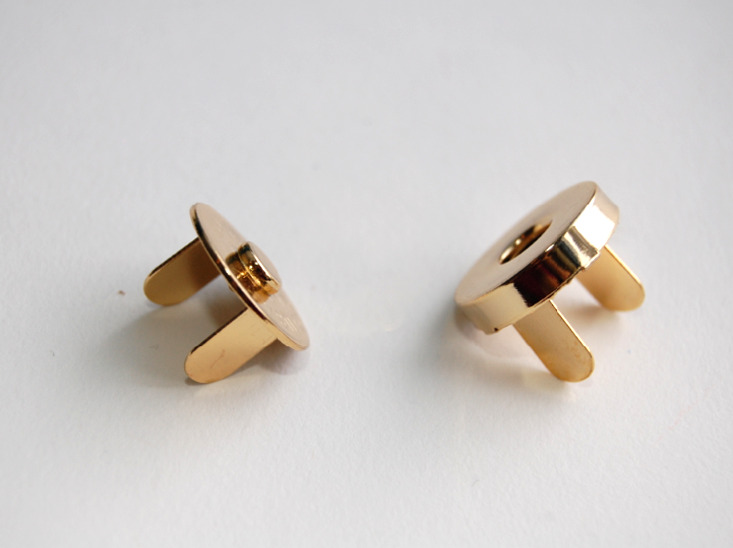
Closeup of the magnetic purse closures. They have prongs that can be bent in with pliers, to secure to fabric.


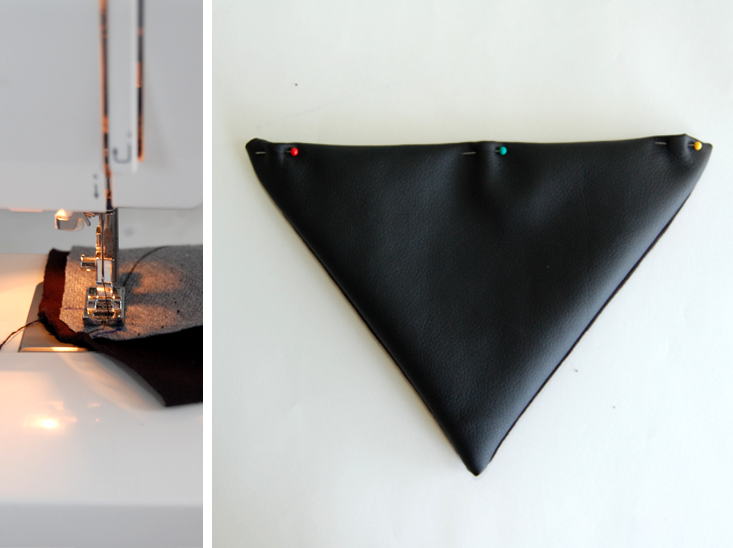
7) Front sides facing each other, sew the two pieces together – EXCEPT for the bottom (not at the very edge, but right below the one inch marks. I didn’t take a picture of this, so sorry!).
Flip it right side out, fold in the open ends of the bottom, and pin together. Sew this shut.
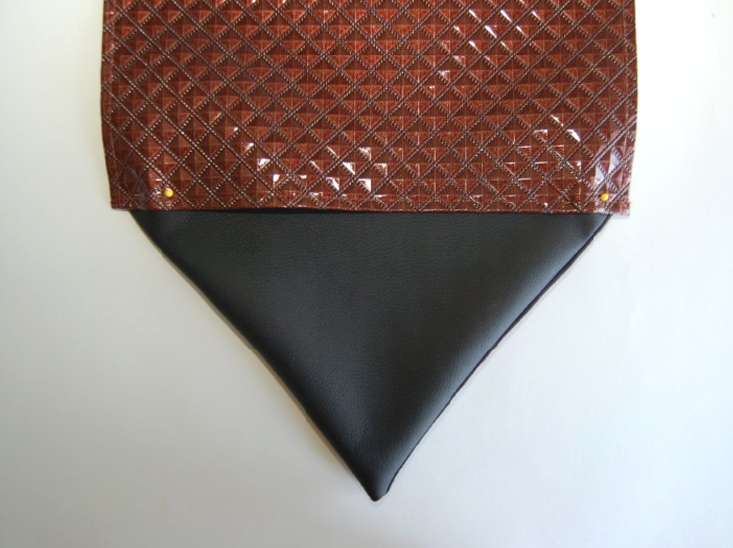

9) Sew the flap to the placemat.
Fold the placemat in half, right sides facing each other (just like you did in Step 1). Sew along those marker lines you drew, then turn the entire thing right side out.

10) Pierce two holes in the flap of the clutch. I’d recommend placing this on an old magazine, so as to not damage your table/desk/etc. Insert the prongs of one end of the magnetic purse closure, and bend in with pliers.
Repeat this on the placemat side, for the other end of the magnetic closure. Make sure they’ll line up before making any holes (white charcoal or chalk might come into handy for marking lines to guide you when piercing holes).
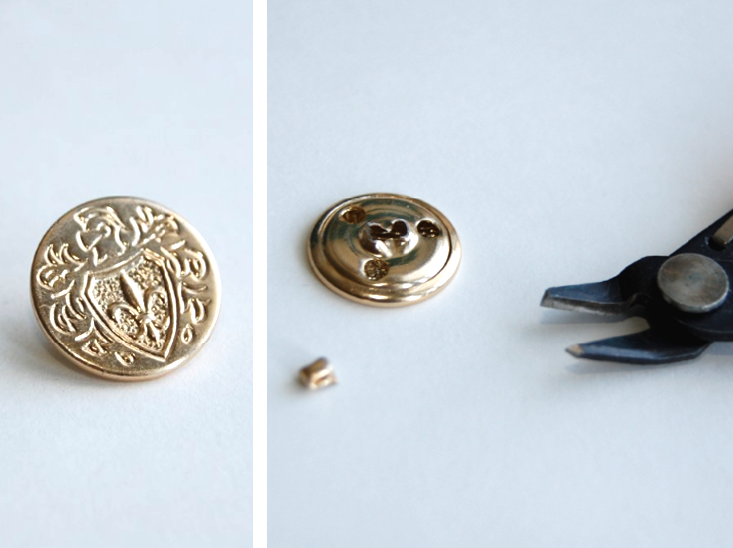

12) Glue onto flap, covering up the prongs of the magnetic closure. Let dry.

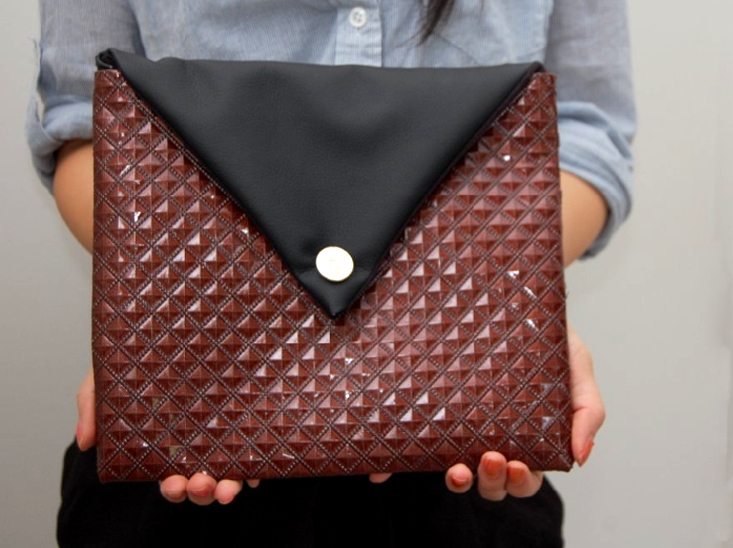
New clutch for less than $2? I’m okay with it.
Happy Friday xo