

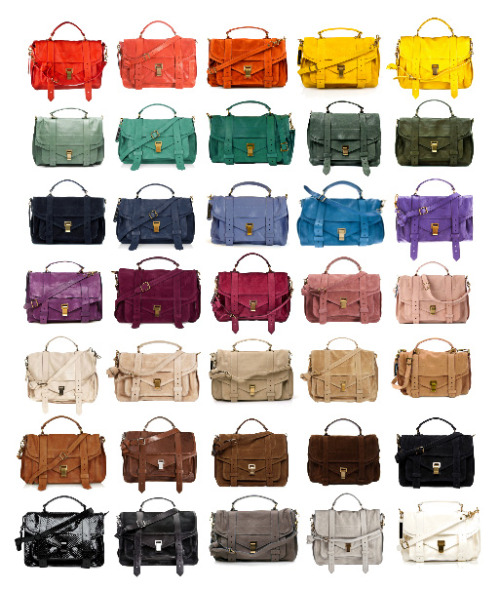
I have to admit – I’m typically not a glitter kind of girl. But as of a few days ago, that might have changed…or least when it comes to ultra fine glitter. I’ve always thought it’s pretty, especially when I’m looking at entire spectrum of colors. My heart totally skips a beat whenever I look at something in many colors, all lined up – like these Proenza Schouler satchel bags or the mineral eyeshadows at Bare Escentuals boutiques OR this Prisamcolor Premier Pencil Wood Box Set…But when I decided that an old black H;M purse of mine needed a makeover, I decided to give some ultra fine glitter a shot. So glad I did!
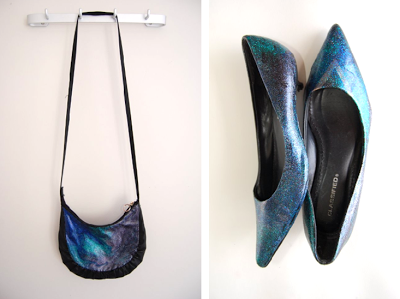
I also unexpectedly ended up making over a pair of kitten heels. More on that later.


(Disclaimer: DecoArt Triple Thick Gloss Glaze was received from DecoArt for review.)
Supplies:
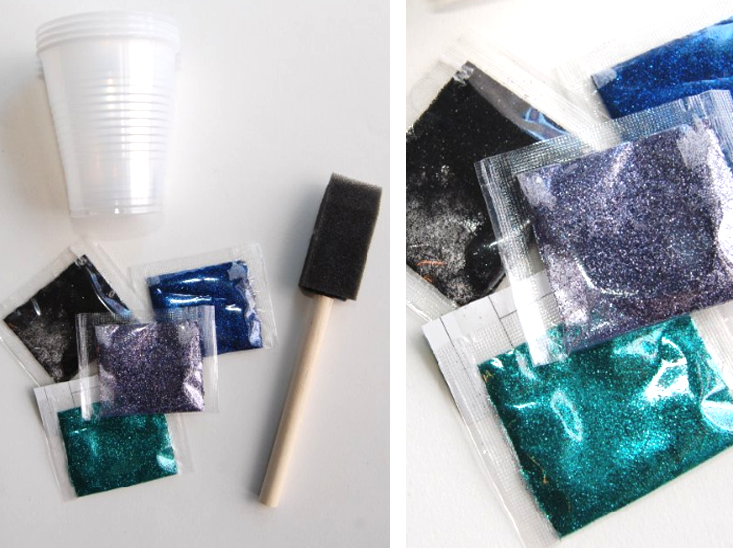
– Bag of your choice, leather/pleather/vinyl will work best
– Bag of your choice, leather/pleather/vinyl will work best
– Clear gloss glaze, like DecoArt’s Triple Thick Gloss Glaze. c/o DecoArt.
– Ultra fine glitter! In your choice of color(s)
– Foam paintbrush
– Small plastic cups, one for each color glitter
– Old newspaper/magazine pages to cover your work surface (not shown)
– Popsicle sticks or old paintbrushes/pens/etc. to mix glitter and glaze (not shown)

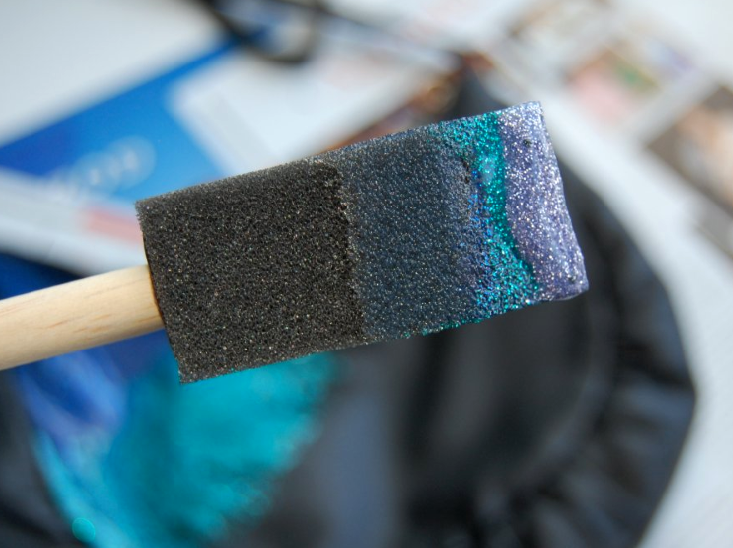
1) Pour some glaze into a plastic cup. Start off with a fairly small amount, because glitter is a lot more concentrated than it may seem. You can always add more later.Add the glitter to the glaze and mix thoroughly.

2) Using the foam paintbrush, start applying to your bag. Try not to overdo it – a little glaze will go a long way. Repeat Step #1 for the next color;. I’d recommend prepping all of the glitter/glaze mixtures before you even start.
I was so distracted at how vivid and bright the royal blue was, and forgot to take a picture of when I first started! But, you get the point.
Tip: Don’t change or wash your foam paintbrush in between colors…you WANT the differenet colors of glitter to blend! It’ll look more like a galaxy this way.
Another tip: Make sure your brush strokes are all going in one general direction.


3) Continue with the next color. Again, don’t be afraid to blend and mix. It’d be a weird looking galaxy if the colors were perfectly separated from each other. In other words: “Messing up” isn’t possible!

Pretty.

4) Finish it off with the last color.

5) While the glaze is still wet, try swirling around the colors to create a more galaxy-like look.

6) Let dry overnight.


Even with the small packets of glitter, I still had soo much left. I dug up these black kitten heels that I’ve had for a while; I actually tried to DIY them up a while ago, but it didn’t go as planned. You can vaguely see the gold V on each of them. Glad I kept them around, cause after covering them with the leftover glitter – I’m pretty much in love. Reason #979873129 why it helps to hold onto projects-gone-wrong.
I’m also thinking I need to do this with some black wedges and/or high heels, too.

Now I can’t stop thinking about what else to cover in glitter. This could get interesting.
Any ideas?
xo,
kirsten
kirsten
Don’t forge to follow me on Twitter! @kirstengail