

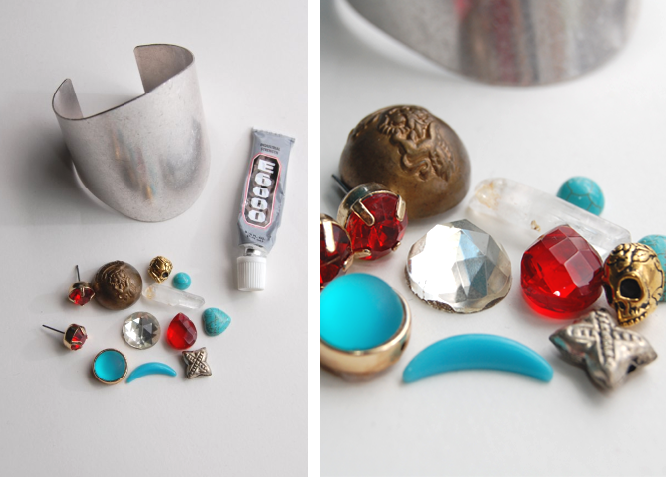
Supplies:
– Metal cuff bracelet
– Buttons, cabochons, beads, flat stones, stud earrings
….everything and anything.
– E6000/super glue
– Pliers, if you needed

1) If you’re using some old earrings, use your pliers to cut off/pry off the backs, to create a flat surface to work with. I never wear these red studs, so this DIY was perfect for them.

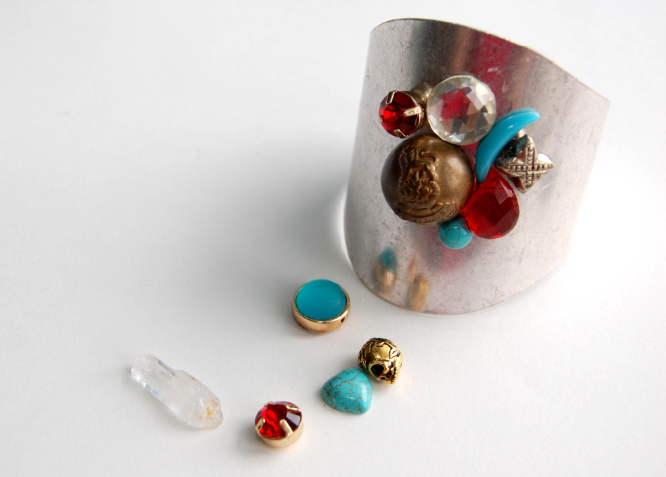
2) Figure out the general placement of your pieces. This will probably change as you go along, but this will give you a broad idea of how you want to go about it.

3) Glue away.

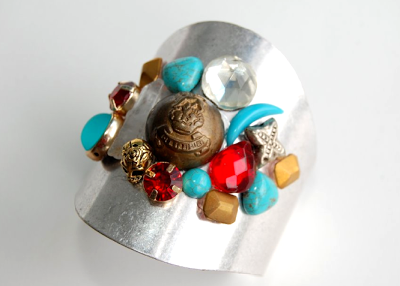
5) Towards the end I decided I need more gold/brass, so I found some faceted rectangle pieces to throw in. Keep an open mind and be ready to possibly go back through your stash of supplies for some extra components.

Let dry, and you’re good to go.
Next DIY is a clothing reconstruction. If there’s anything I love about spring and summer, it’s the warmer weather and the DIY clothing opportunities that come with it. I love making and altering clothes for this kind of weather, so keep an eye out for more clothing projects in the next few months.
My Friday night is going to be spent in, just relaxing. It’s my first weekend in the past month that I’m NOT out of town…& while I love visiting people, it’s kind of nice to take it easy this weekend. Time to curl with a glass of wine and a good movie.
Hope everyone has a great weekend <3!
xo,