


I used to love t-shirt transfers when I was younger, but eventually got fed up at how the image would (inevitably) crack and crease over time. But! A few weeks ago, I thought – if you can’t change the fact that it’s going to crack…why not just run with it? And who says they can only be used on t-shirts?
This DIY is meant to create a grunge-y, worn in kind of look. So if you’d rather have a nice, clean image – then, well, this one isn’t for you!

Supplies:
– T-shirt transfers, at least 2
– Scissors
– Light colored jeans
– Printer (not shown)
– Charcoal or colored pencil
– Adobe Photoshop, or another graphic design program
(or just download the print I used below)

I used a pair of light gray jeans that I purchased at Pacsun (the brand is Hermosa)…YEARS ago. You can probably tell that they’ve barely been worn.
I usually make it a point to get rid of things I don’t use, so that everything I own is being put into good use. I almost got rid of these, but I’m glad I kept them around! Between having the t-shirt transfers AND jeans on hand, I spent 0 dollars on this.
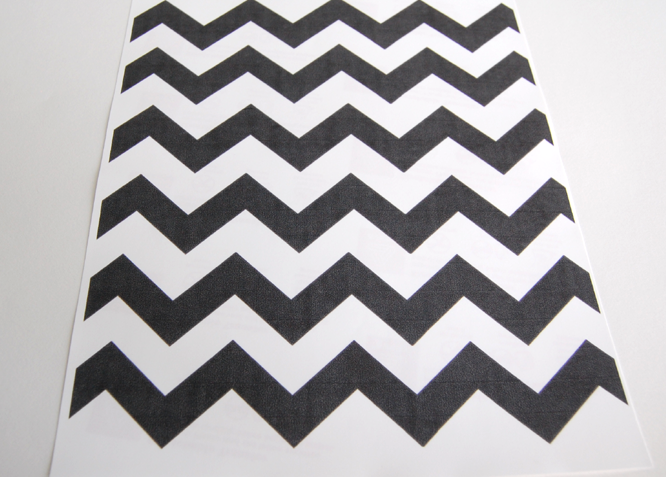
1) Design your print in a graphic design program. Make sure your image is 8.5″ x 11″ – the size of a standard piece of paper, or one transfer sheet. Print this out twice, on the 2 sheets of t-shirt transfers.
If you’d like, you can download the print I used, below. It’s a .PDF – just right click & Save As.
If you make your own print, you might need more or less t-shirt transfer sheets. Otherwise, you just need two if you’re using this one.
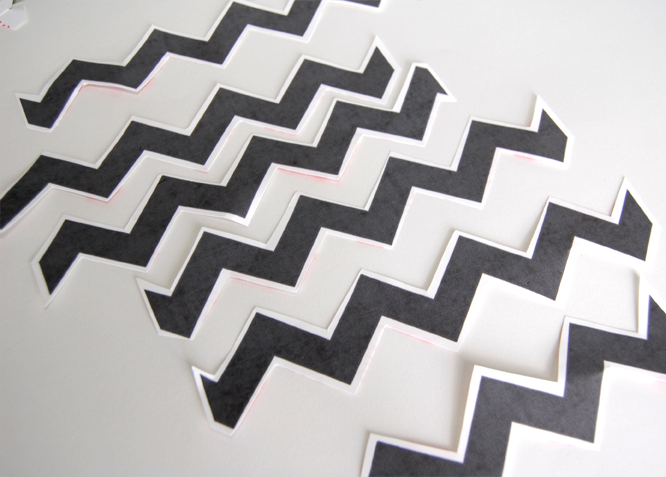
2) Cut out the print/image. If you leave a white outline around the print like I did, keep in mind that it’s not totally clear so it’s going to show on your jeans. I wanted that effect but it’s up to you if you do.
One sheet = 6 zig zag stripes. I started out on the front side of the jeans, 3 on the left and 3 on the right.

3) Try your jeans on. With a charcoal/colored pencil, mark where you want the center stripe to go.


5) Three stripes on the front side of the leg.


7) With the second transfer sheet, repeat on the back side. The good thing about this is that when it does accidentally peel, it’s totally okay, because that’s the look we’re going for.


I’m thinking these will be better off washed inside out. Any suggestions?
Either way, I’m glad I salvaged them from the depths of my closet…plus I was able to use up some t-shirt transfers. And thanks to my good friend Sarah for snapping the first and last few pictures!
This past week has been SO HECTIC. I’ve been prepping for my vendor setup for this weekend’s event in my college town – the grand total for my inventory is 75 pairs of earrings, 62 necklaces, 48 rings, 14 ringlets, 16 earcuffs and 18 bracelets. Maybe a little more than that. Ah.
Pictures of the event will be coming sometime next week. And if you haven’t already, send me a question via e-mail (kirsten.studsandpearls@gmail.com) or comments for an upcoming Q&A!
xo,