
If you’re into band merch or anything in the DIY world, you probably have a few buttons/pins laying around. I whipped up a few rings using pins and items that you most likely have – clear nailpolish and some beads. Essentially, the clear nailpolish sort of acts like clear craft resin, which is often used in jewelry making. Click here and here for two jewelry shops that – while very different from each other – both use resin in their pieces. There’s an endless amount of possibilities with this DIY, depending on what kind of beads you choose.
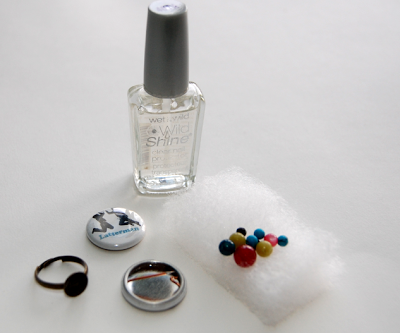
Supplies: – Ring blank (You can find these on Etsy, Ebay, etc.)
– Clear nailpolish
– Pinback button
– Random beads
– Jewelry pliers
– E6000 or hot glue

Supplies: – Ring blank (You can find these on Etsy, Ebay, etc.)
– Clear nailpolish
– Pinback button
– Random beads
– Jewelry pliers
– E6000 or hot glue
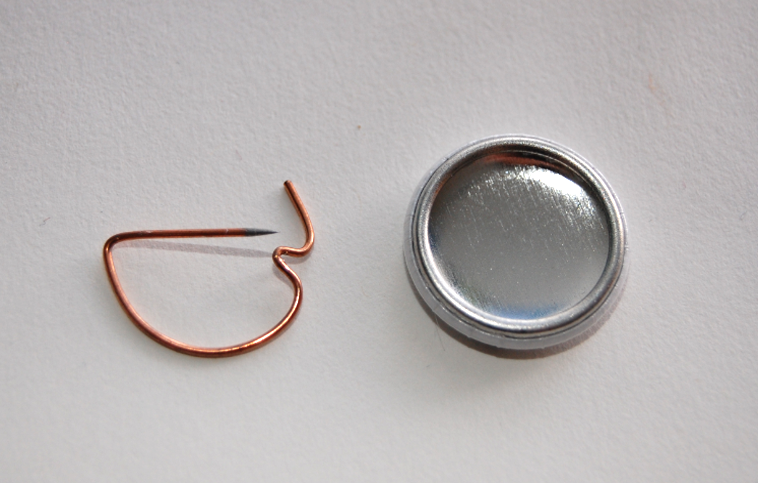
1) If you’re not like me and haven’t already broken a pin or two, use jewelry pliers to carefully remove the pinback component from the back of the button.
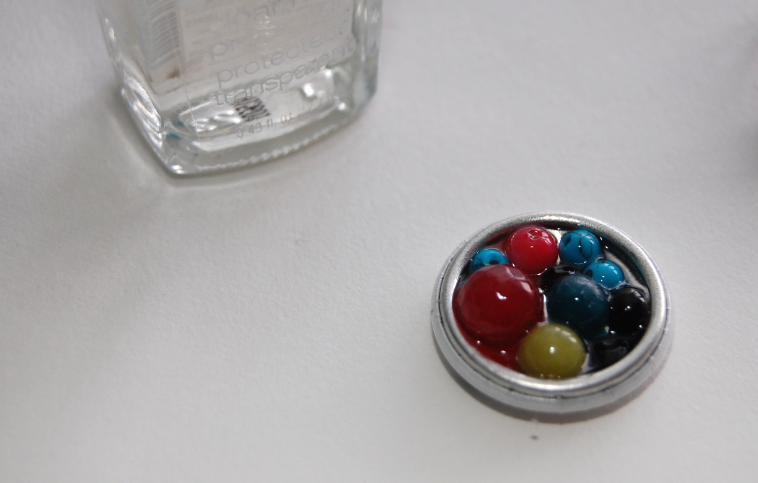 2) Place some beads in the button. When you’re happy with the look/placement, slowly pour nailpoish over it. Pause every now and then to let the nailpolish naturally disperse throughout the beads. *Make sure you do this in a well ventilated area!* Let dry for a couple of hours.
 I made a whole bunch…small pearls for a classy looking ring, and turquoise stone chips for a more natural look.
 3) Glue the bead-filled pin to the ring blank. E6000 is more ideal for this. (Again, use the glue in a well-ventilated space). Click the picture to enlarge!
kirsten